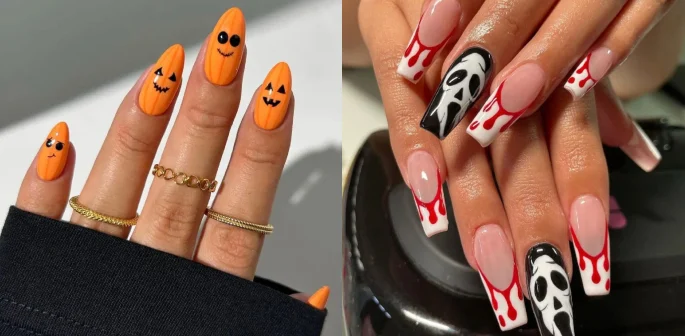
Doing nail art at home may sound difficult, but it doesn’t have to be. If you’re just starting, there are many simple and fun nail art designs you can try by yourself. You don’t need fancy tools or a lot of experience — just a little creativity, a few basic items, and some patience.
In this article, we will show you 5 easy nail art looks that beginners can try at home. These designs are simple, stylish, and don’t take too much time. You can try one at a time or mix a few to make your own unique look.
Let’s get started!
1. Polka Dot Nails
Polka dots are one of the easiest designs you can do, and they look cute on any nail shape or color. You only need two colors — one for the base and one for the dots.
What you need:
- Two nail polish colors (like white and red or black and pink)
- A toothpick, bobby pin, or dotting tool
- A clear top coat
How to do it:
- Paint your nails with the base color and let them dry completely.
- Dip the tip of your dotting tool or bobby pin into the second color.
- Lightly press the tool on your nail to make small dots.
- Add more dots in a pattern or randomly.
- Let the dots dry and add a clear top coat.
You can try different dot sizes or even use different colors on each nail for a fun and playful look.
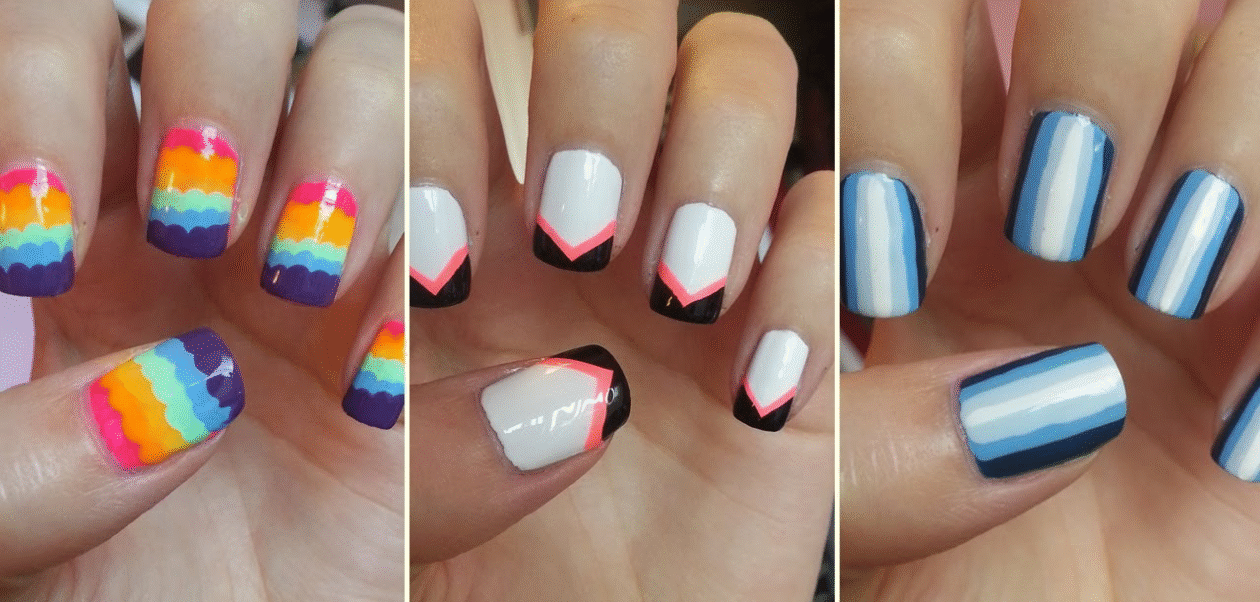
2. Striped Nails with Tape
Stripes look very clean and modern, and they’re easy to do with just some tape or nail striping stickers.
What you need:
- Two nail polish colors
- Thin tape or striping tape
- Scissors
- A clear top coat
How to do it:
- Paint your nails with the lighter color and let them dry fully.
- Cut small strips of tape and place them on your nails in the direction you want the stripes (horizontal, vertical, or diagonal).
- Paint over your nails with the second, darker color.
- Carefully remove the tape while the polish is still wet.
- Let your nails dry and apply a top coat.
You can create thin or thick stripes and even try two or more colors for a rainbow effect.
3. Accent Nail with Glitter
If you want something simple but still eye-catching, a glitter accent nail is perfect. It takes very little time but adds sparkle to your whole look.
What you need:
- Nail polish in your favorite color
- Glitter polish or loose glitter
- A clear top coat
How to do it:
- Paint all your nails with the base color and let them dry.
- Choose one nail on each hand (usually the ring finger) as the “accent nail.”
- Apply glitter polish on the accent nail. You can add one coat for a light sparkle or more layers for extra shine.
- If using loose glitter, paint a clear coat on the accent nail, then dip it in glitter or sprinkle glitter on top.
- Finish with a top coat on all nails.
This is a great way to make your nails look fancy without much effort.
4. Color Block Nails
Color blocking is when you divide your nail into two or more sections with different colors. It looks modern and can be done with just a brush and some tape.
What you need:
- Two or more nail polish colors
- Tape or striping tape
- A nail polish brush or sponge
- A clear top coat
How to do it:
- Paint your nails with one base color and let it dry completely.
- Use tape to cover the part of the nail you want to keep that color.
- Paint the open part of the nail with a second color.
- Carefully remove the tape before the polish dries.
- Add a top coat once everything is dry.
You can do half-and-half nails, diagonal blocks, or mix three colors. Try soft pastel tones for a gentle look or bold colors for something more fun.
5. Flower Nail Art
Floral designs are always in style. You might think they’re hard, but small flowers are actually very easy to make using simple tools.
What you need:
- A base color
- Two or three colors for the flower and center
- A toothpick, bobby pin, or dotting tool
- A clear top coat
How to do it:
- Paint your nails with the base color and let them dry.
- Dip your dotting tool or bobby pin into a bright polish.
- Place five dots in a small circle to form the petals.
- Add a small dot in the center of the flower using a different color.
- Let everything dry, then apply a top coat.
You can make one flower on each nail or add a few small ones. Try soft colors like white flowers on pink nails or go bold with red and yellow.
Tips for Great DIY Nail Art
Now that you know some easy nail art ideas, here are a few tips to help your nails look even better.
1. Work with clean nails:
Always wash your hands and clean your nails before starting. Remove old polish and push back your cuticles gently.
2. Use a base coat:
A clear base coat helps polish stick better and protects your nails from staining.
3. Be patient with drying:
Let each layer of polish dry before moving on to the next step. This keeps the design neat and helps avoid smudging.
4. Don’t worry about mistakes:
It’s okay if it’s not perfect. You can fix small smudges with a thin brush dipped in nail polish remover.
5. Seal your art:
Always finish with a clear top coat. It protects your design and gives your nails a shiny, smooth look.
6. Practice makes perfect:
The more you try, the better you’ll get. Don’t give up if your first try doesn’t look like the picture. Nail art takes time, but it’s fun!
Conclusion
Nail art doesn’t have to be difficult or expensive. With these 5 easy nail designs, you can try fun and creative styles right at home. You don’t need fancy tools — just some nail polish, basic items like tape or toothpicks, and a bit of practice.
Whether you go for polka dots, stripes, flowers, or color blocks, your nails will look beautiful and stylish. Try one look this week, and soon you’ll feel confident to try even more creative designs.
So grab your favorite colors, find a quiet place, and start painting. Your next favorite nail art look is just a few dots or stripes away!