Introduction
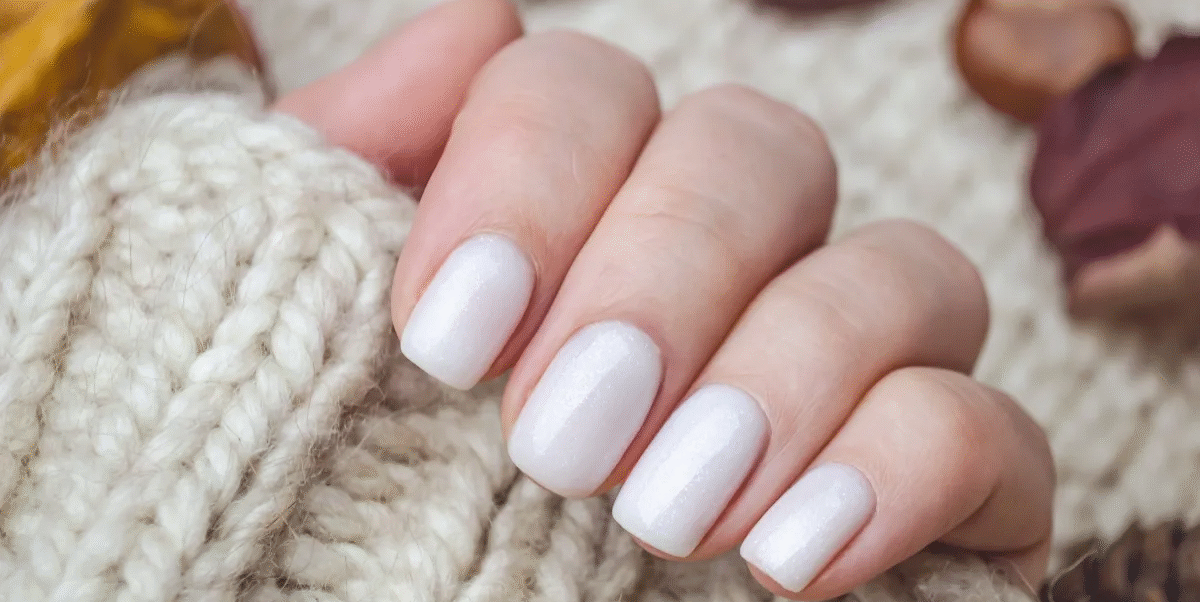
Gel nails have become very popular because they last longer and look shiny and smooth compared to regular polish. Many people love gel nails but think you need to go to a salon to get them done. The good news is, you can do gel nails at home like a pro if you have the right tools and know the steps!
This guide will walk you through everything you need to know to create a beautiful, long-lasting gel manicure at home. From prepping your nails to curing your polish under a lamp, you’ll learn all the tips and tricks to get salon-quality results.
What You Need for Gel Nails at Home
Before starting, make sure you have the right supplies. Here’s what you’ll need:
- Gel nail polish: Choose your favorite colors. Gel polish is different from regular polish because it needs to be cured under a UV or LED lamp.
- Base coat and top coat: These special gel formulas help the polish stick and stay shiny.
- UV or LED nail lamp: This is essential to cure (harden) the gel polish. LED lamps cure faster than UV lamps.
- Nail file and buffer: To shape your nails and smooth the surface.
- Cuticle pusher and cuticle remover: To clean and prep your nail beds.
- Rubbing alcohol or gel cleanser: To wipe off sticky residue after curing.
- Lint-free wipes: To avoid fibers sticking to your nails.
- Optional tools: Nail primer or dehydrator for better polish adhesion.
Step 1: Prepare Your Nails
Proper preparation is key to a long-lasting gel manicure.
- Remove any old polish using regular nail polish remover.
- Trim and file your nails into your desired shape — round, square, almond, or coffin.
- Gently push back your cuticles with a cuticle pusher. If needed, use cuticle remover to soften them first.
- Buff the surface of your nails lightly with a buffer to remove shine and help the gel polish stick better.
- Clean your nails by wiping them with rubbing alcohol and a lint-free wipe to remove dust and oils.
Step 2: Apply the Base Coat
The base coat protects your natural nails and helps the gel polish last longer.
- Apply a thin layer of the gel base coat to each nail. Avoid getting polish on your skin or cuticles.
- Cure your nails under the UV or LED lamp. Usually, LED lamps take about 30 seconds to cure, while UV lamps take about 2 minutes.
- After curing, your nails will feel hard and smooth.
Step 3: Apply Gel Color Polish
Now it’s time to add your favorite color.
- Apply a thin first coat of gel color polish to your nails. Thin coats cure better and avoid wrinkling or bubbling.
- Cure under the lamp for the recommended time (usually 30-60 seconds for LED, 2 minutes for UV).
- Apply a second thin coat of gel color polish for full, even coverage. Cure again.
- If you want more color depth, add a third coat and cure once more.
Step 4: Apply the Top Coat
The top coat seals your color and gives your nails that glossy finish.
- Apply a thin layer of gel top coat to each nail. Be sure to seal the tips by brushing polish across the edge of the nail to prevent chipping.
- Cure under the lamp for the recommended time.
- After curing, your nails may have a sticky layer called “inhibition layer.”
Step 5: Remove the Sticky Residue
To finish your gel manicure, you need to remove the sticky layer.
- Soak a lint-free wipe in rubbing alcohol or gel cleanser.
- Gently wipe each nail to remove the sticky residue.
- Your nails should now be shiny, smooth, and dry to the touch.
Step 6: Care for Your Gel Nails
To keep your gel manicure looking fresh and strong:
- Avoid using your nails as tools to open things.
- Apply cuticle oil daily to keep your nails hydrated.
- Wear gloves when doing household chores involving water or harsh chemicals.
- If your nails start to lift or chip, fix them quickly to prevent further damage.
How to Remove Gel Nails Safely at Home
When you’re ready to remove your gel nails, don’t peel or pick them off—that can damage your natural nails. Here’s a safe way to remove gel polish at home:
- File the top shiny layer of the gel polish lightly to break the seal.
- Soak a cotton ball in acetone nail polish remover.
- Place the soaked cotton ball on your nail and wrap each finger with a small piece of aluminum foil to hold the cotton in place.
- Leave the foil wraps on for about 15-20 minutes.
- Remove the foil and cotton balls, then gently push off the softened gel polish with a cuticle pusher.
- If polish doesn’t come off easily, rewrap and soak for a few more minutes.
- After removal, wash your hands and apply cuticle oil and hand cream to nourish your nails.
Tips for a Professional-Looking Gel Manicure
- Always apply thin coats of polish to avoid bubbles and wrinkling.
- Keep your polish brush close to the nail surface and avoid touching skin or cuticles.
- Cure nails fully under the lamp—under-curing can cause peeling.
- Don’t rush the process; take your time for the best results.
- Practice makes perfect—your nails will look better with each try!
Conclusion
Doing gel nails at home is easier than you might think! With the right tools and a little patience, you can achieve salon-quality results that last for weeks. From prepping your nails carefully to curing each layer properly, following these steps will help your gel manicure stay beautiful and strong.
So why wait? Gather your supplies, pick your favorite gel colors, and enjoy the fun of creating your own gel nails at home like a pro!

